52 lines
3.5 KiB
Plaintext
52 lines
3.5 KiB
Plaintext
---
|
||
title: Getting Started
|
||
label: Getting Started
|
||
order: 10
|
||
desc: Get started with Payload Cloud, a deployment solution specifically designed for Node + MongoDB applications.
|
||
keywords: cloud, hosted, database, storage, email, deployment, serverless, node, mongodb, s3, aws, cloudflare, atlas, resend, payload, cms
|
||
---
|
||
|
||
Payload Cloud is a deployment solution specifically designed for Node + MongoDB applications, offering seamless deployment of your entire stack in one place. You can get started in minutes with a one-click template, or bring your own codebase with you. Payload Cloud offers different plans tailored to meet your specific needs, including a MongoDB Atlas database, S3 file storage, and email delivery powered by Resend. To see the full breakdown of features and plans, see our [Cloud Pricing page](https://payloadcms.com/cloud-pricing).
|
||
|
||
To get started with Payload Cloud, you will first need to create an account. From the login screen, select **Register for Free**. Once you’ve created an account, you’ll need to verify it by visiting the link sent to your email. After that, you can log into your account and get started.
|
||
|
||
<Banner type="success">
|
||
To create your first project, you can either [start from a
|
||
template](#starting-from-a-template), or [import an existing
|
||
project](#importing-from-an-existing-codebase) from your GitHub account.
|
||
</Banner>
|
||
|
||
## Starting from a Template
|
||
|
||
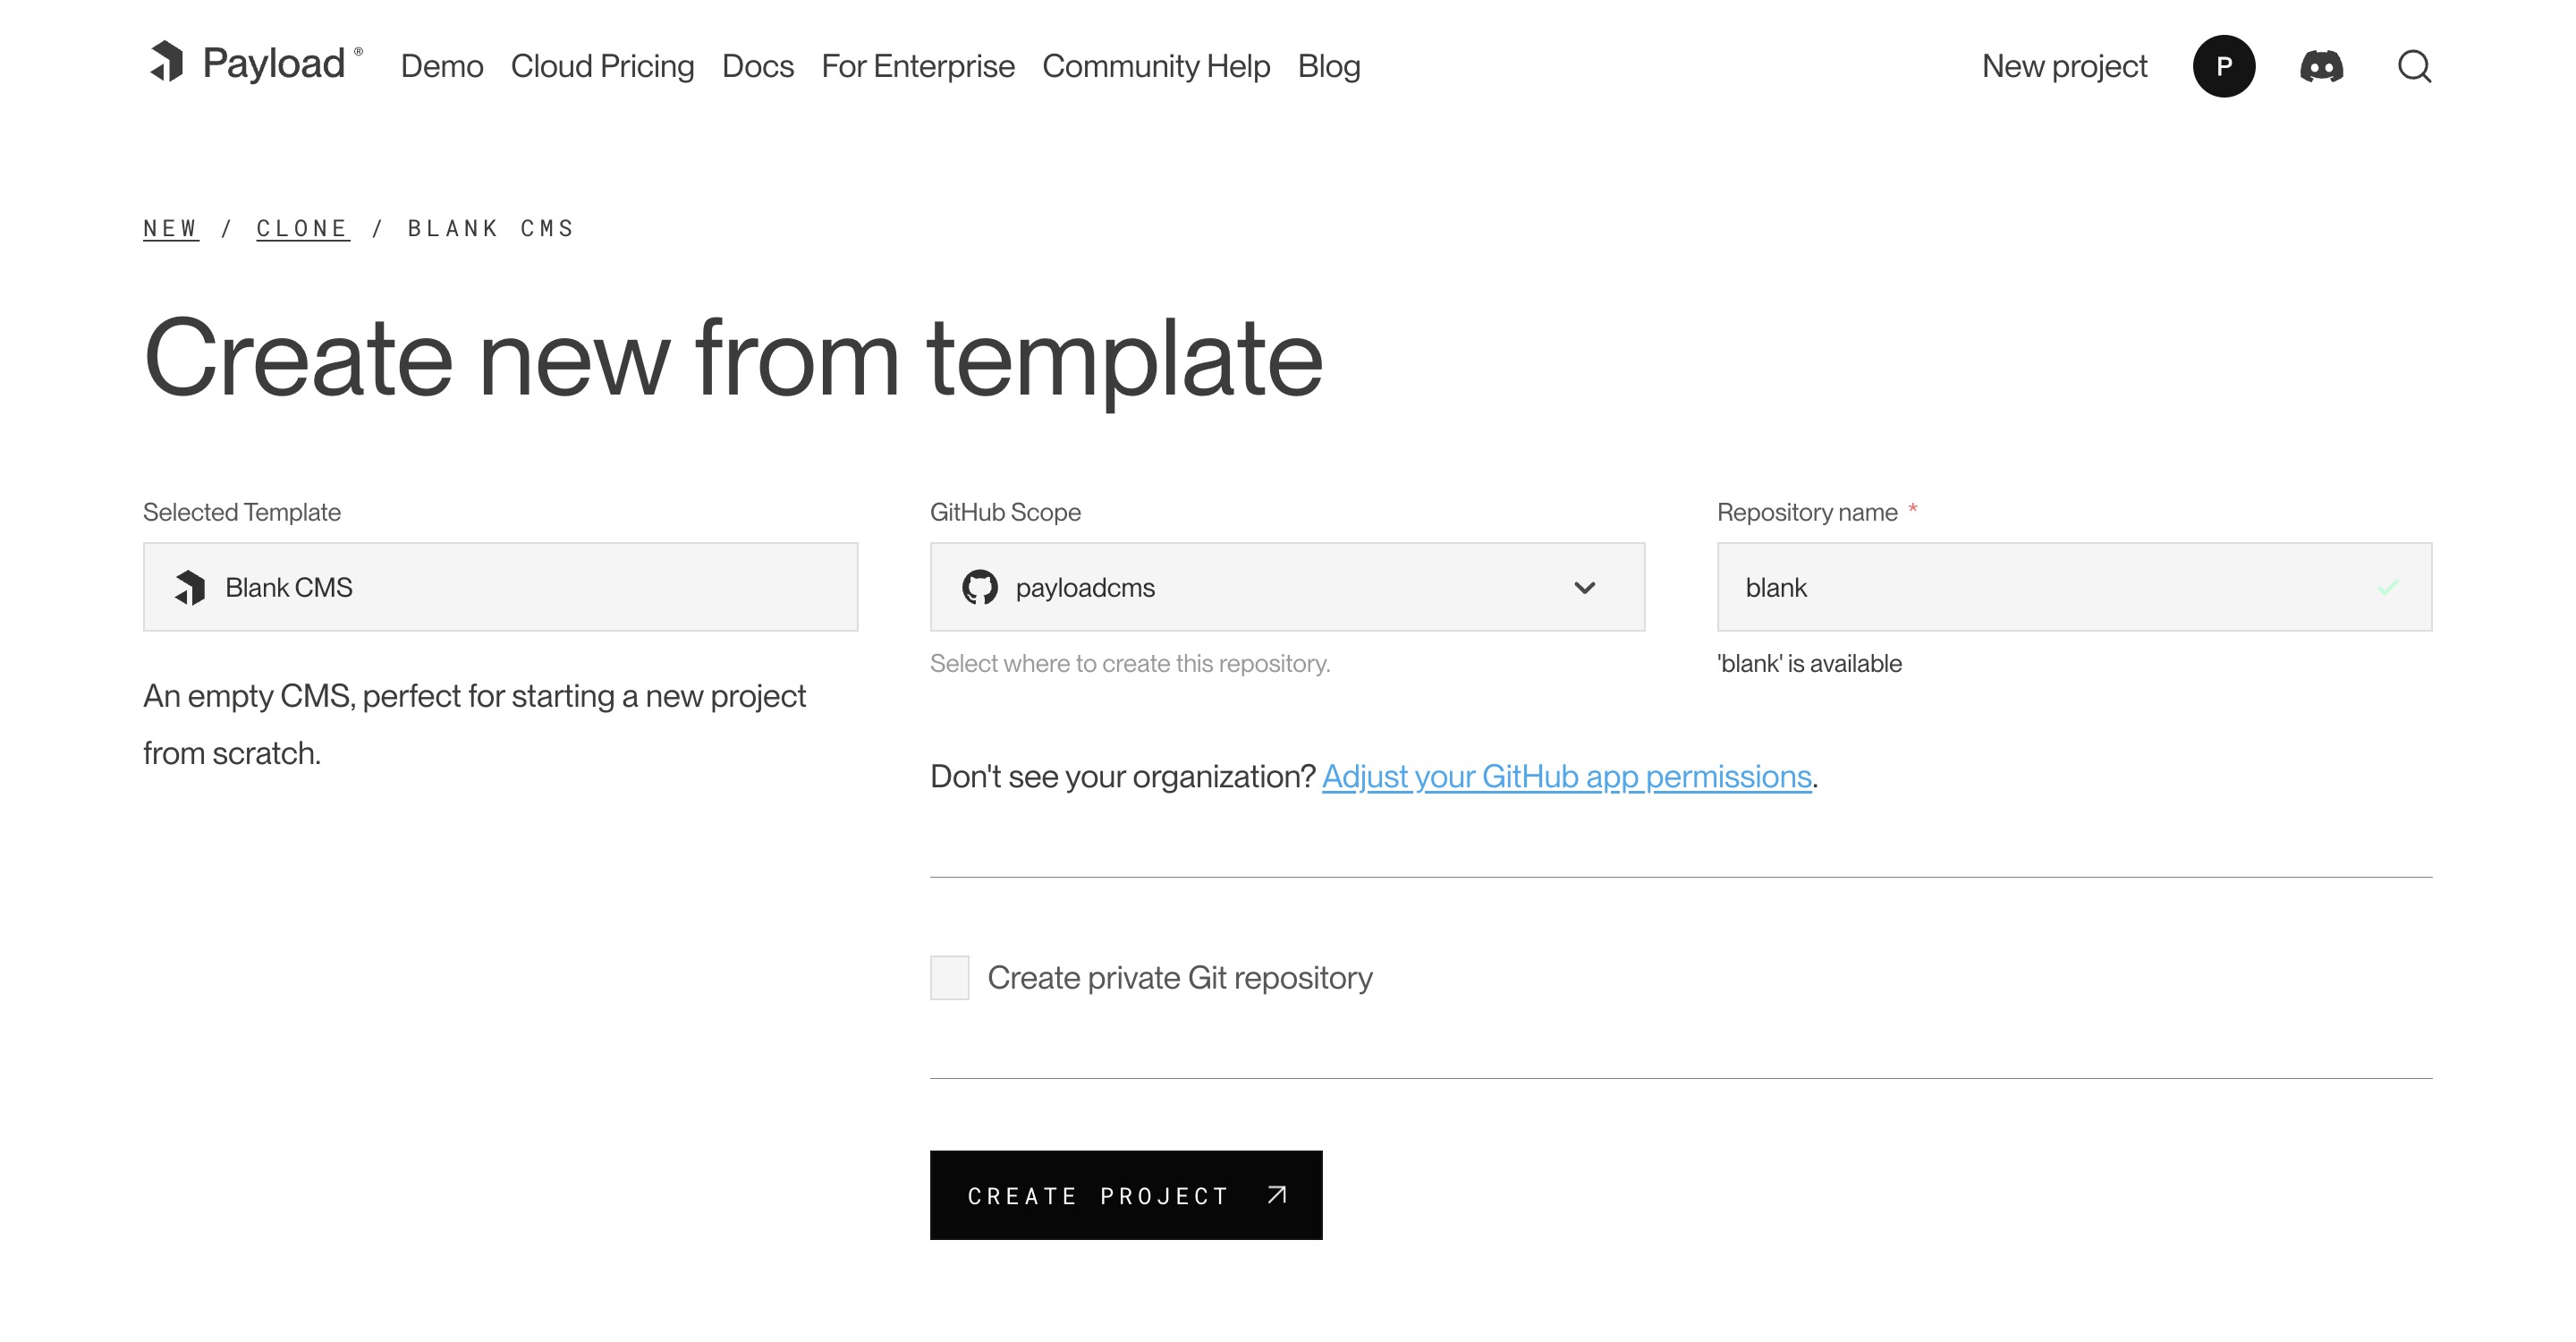
Payload Cloud templates provide a one-click, simple solution to quickly deploy a new application. Templates come pre-configured, so there is no additional set up needed to run your application on Payload Cloud.
|
||
|
||
|
||
_Creating a new project from a template._
|
||
|
||
After creating an account, select your desired template from the Projects page. At this point, you will need to connect to Authorize the Payload Cloud application with your GitHub account. Click Continue with GitHub and follow the prompts to authorize the app.
|
||
|
||
Next, select your `GitHub Scope`. If you belong to multiple organizations they will show up here. If do not see the organization you are looking for, you may need to adjust your GitHub app permissions.
|
||
|
||
After selecting your scope, create a unique `repository name` and select whether you want your repository to be public or private on GitHub.
|
||
|
||
<Banner type="warning">
|
||
<strong>Note:</strong> Public repositories can be accessed by anyone online,
|
||
while private repositories only grant access to you and anyone you explicitly
|
||
authorize.
|
||
</Banner>
|
||
|
||
Once you are ready, click **Create Project**. This will clone the selected template to a new respository in your GitHub account, and take you to the configuration page to set up your project for deployment.
|
||
|
||
## Importing from an Existing Codebase
|
||
|
||
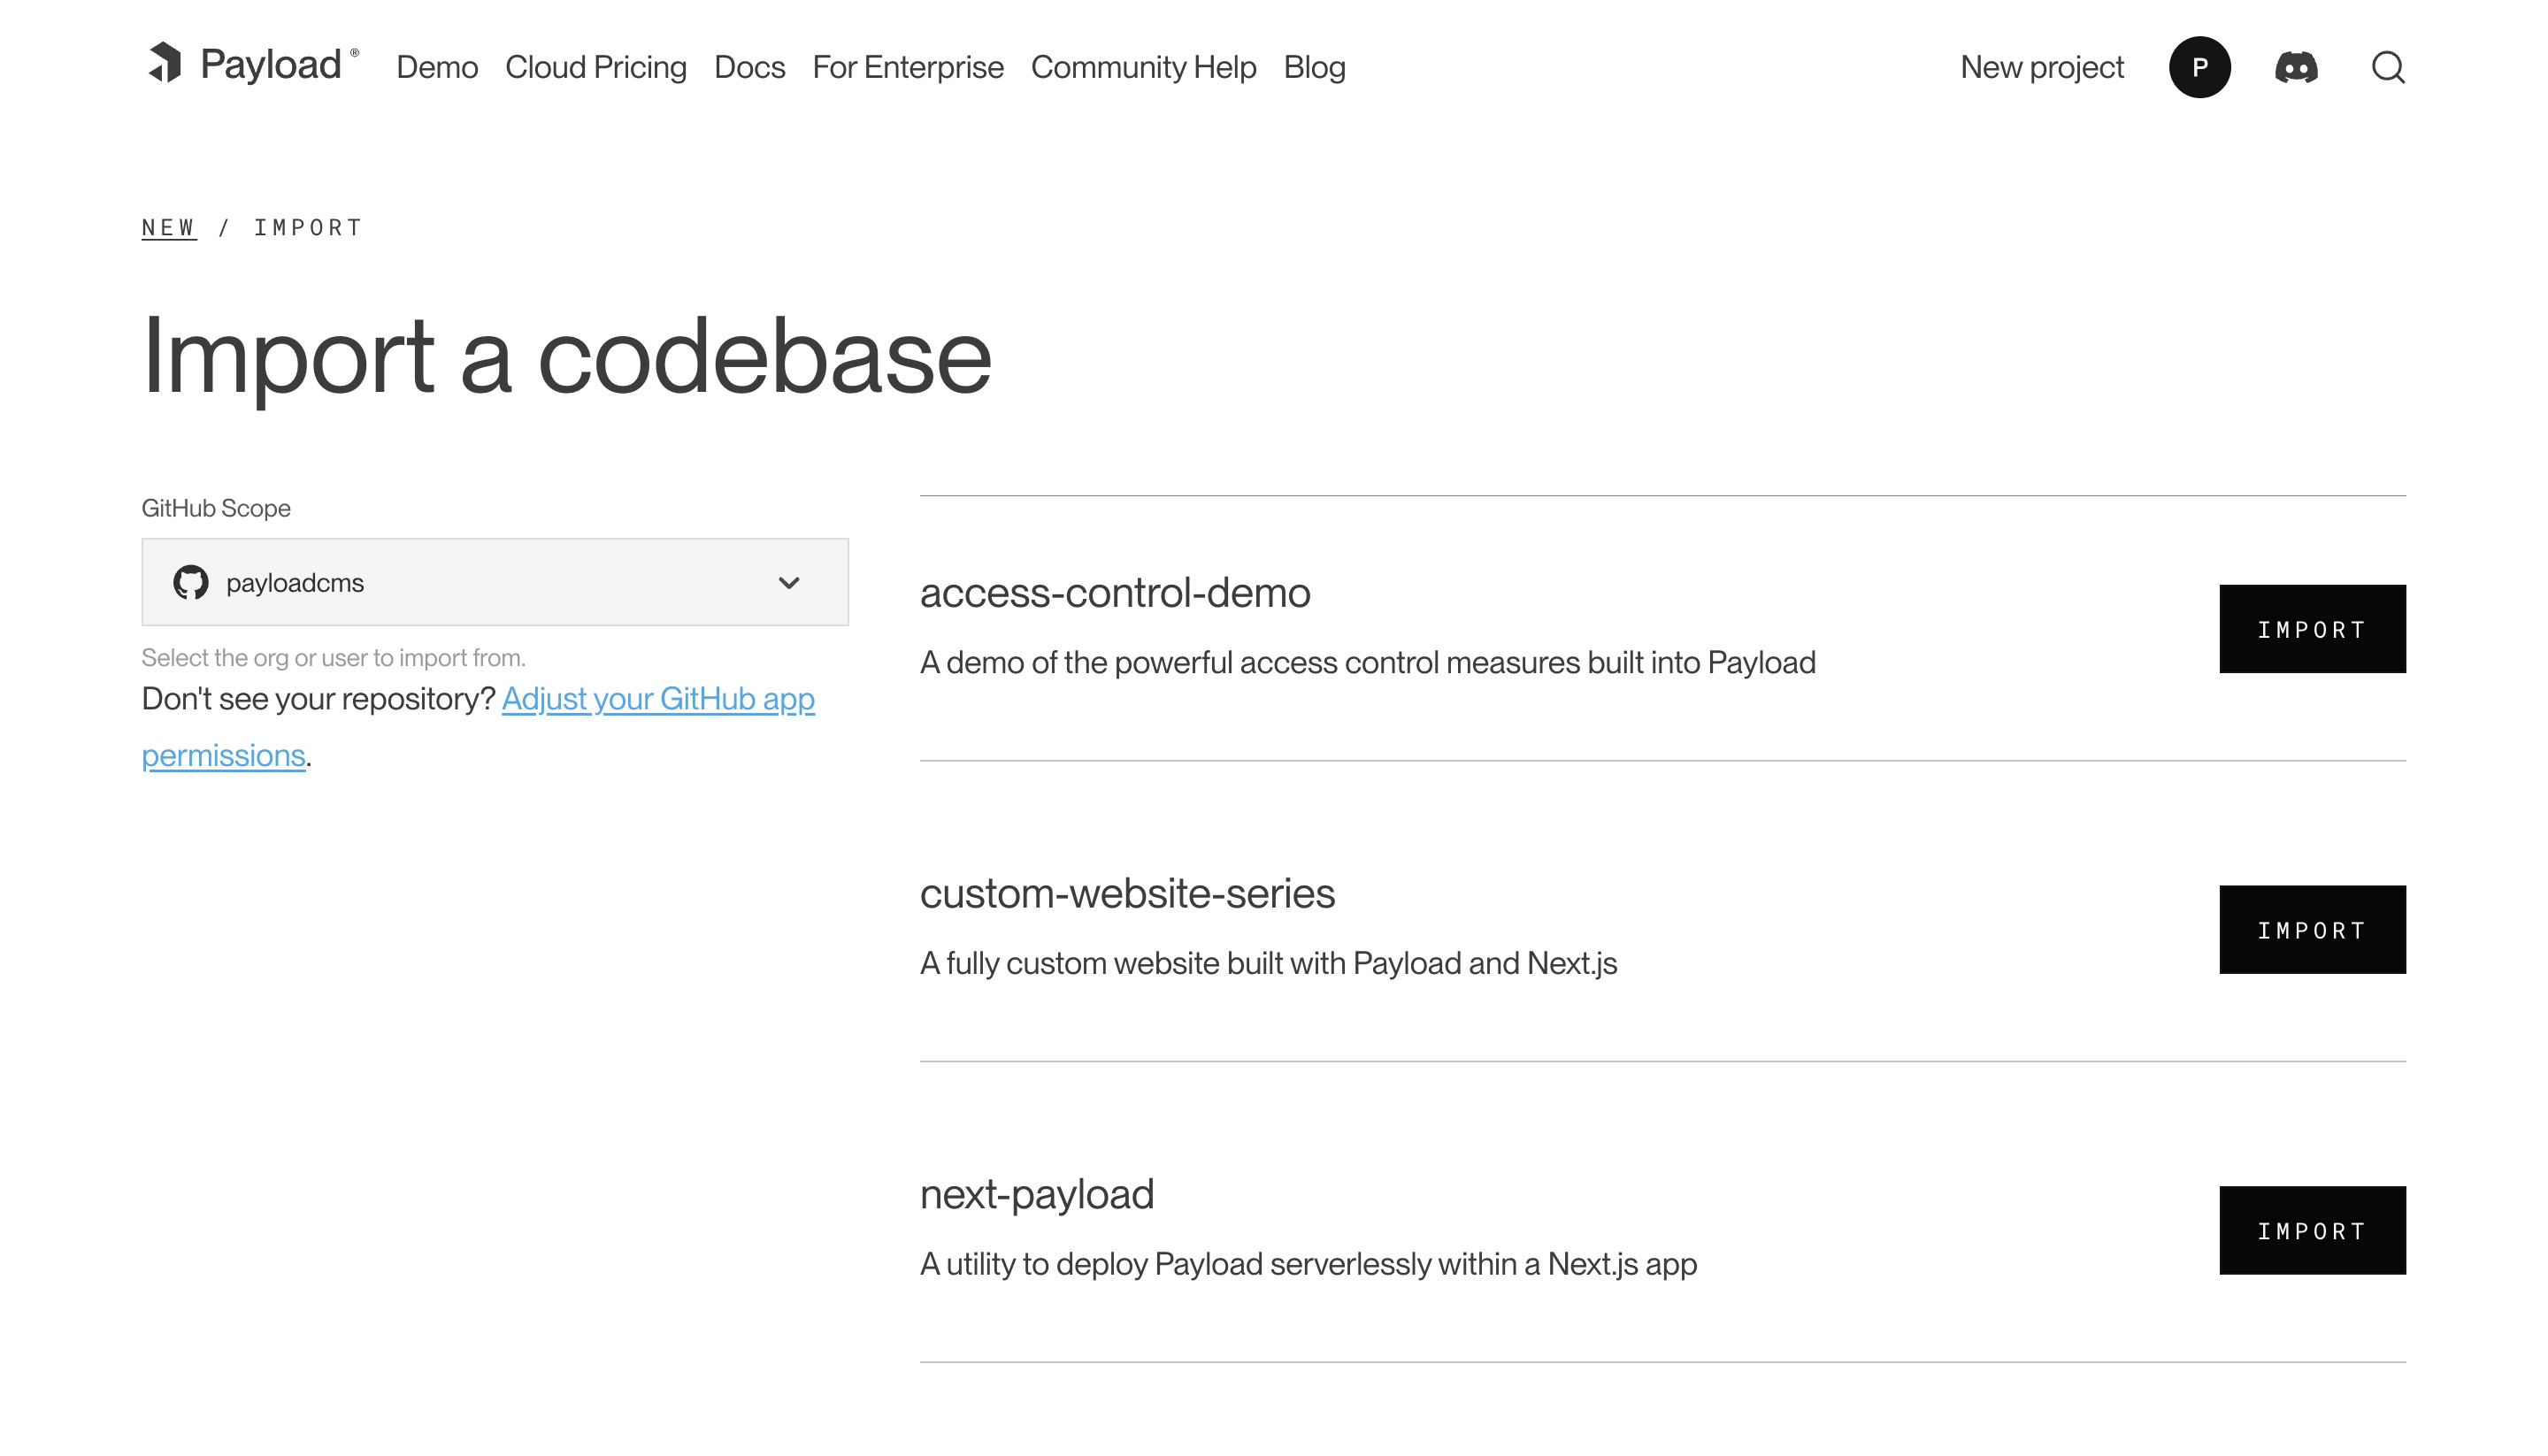
Payload Cloud works for any Node + MongoDB app. From the New Project page, select **import an existing Git codebase**. Choose the organization and select the repository you want to import. From here, you will be taken to the configuration page to set up your project for deployment.
|
||
|
||
<Banner type="warning">
|
||
<strong>Note:</strong> In order to make use of the features of Payload Cloud
|
||
in your own codebase, you will need to add the [Cloud
|
||
Plugin](https://github.com/payloadcms/plugin-cloud) to your Payload app.
|
||
</Banner>
|
||
|
||
|
||
_Creating a new project from an existing repository._
|